

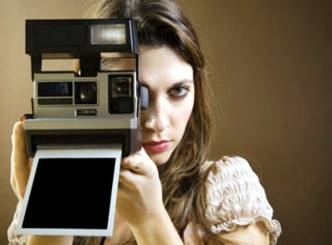
Camera Wishesh is back with a bang today with an uber-cool effect that requires you to do more work than ever but at Wishesh we love to work harder for better results, don't we?
With no further ado, let us plunge into the camera world. What we learn today would be how to take an image of a life size object to look like a miniature, hence miniature-faking. The effect is also called the diorama effect.
Science has allowed us to develop a kind of lens that changes your perspective, either tilt or shift by movement of lens, horizontally across or vertically, without the movement of camera. A small effect of these lenses is the miniature effect which is far more pronounced and more superior but it will cost you a few thousand dollars.
Hence, we will stick to the easier cheaper version, Photoshop. Using any version of photoshop you can achieve this effect.
How to select pictures?
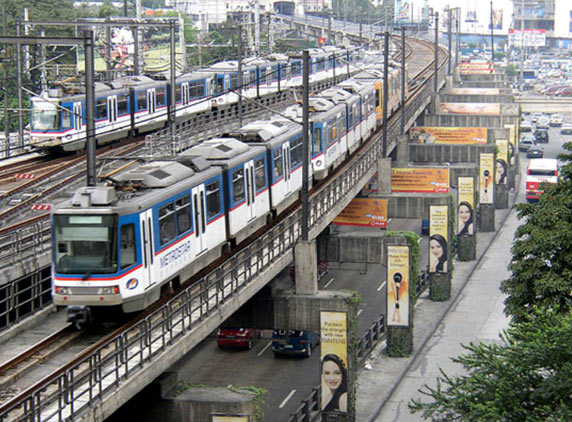
Ideal pictures would have subjects that are generally toys. A train, cars, etc.
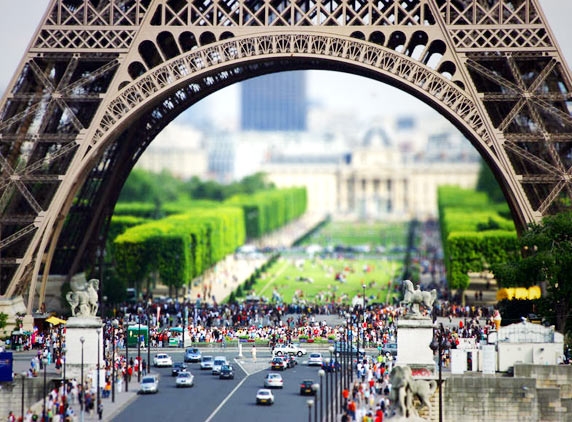
A huge crowd, any situation from an elevated perspective will also work to give you the same effect.
Use your creativity to include different situations in such pictures
For people to look like miniatures you need other elements like buildings or cars that will justify the scale of the image.
What to do on Photoshop?
Open your Photoshop and press Q for entering quick mask mode.
Then enable gradient with the keyboard shortcut G. With reflected gradient you can achieve the best miniature results.
Draw a vertical line after the selections. A band of red will appear on your picture showing the area where the blur has not been invoked.
Essentially you are done. Press Q again to re-enter standard mode selecting the either sides of the red-band area. The red band will now disappear.
Apply lens blur to the selected area, Filter > Blur > Lens Blur.
Experiment with the radius until suitable degree of blur is achieved.
To make it look more toy-like, go to Image > Adjustments > Hue/Saturation and bump up the saturation to a surreal level. Like wise adjust contrasts as required too from Image > Adjustments > Curves. Find the best level and export a JPEG image to share with your friends.
For interesting ideas and examples of this method, go to http://www.designfloat.com/blog/2010/06/10/40-incredible-tilt-shift-photos/
Here is a video lesson:
Photography Tip of the Day: Best Tilt-Shift images can be obtained from a higher elevation with several elements in the frame of the photo.
(AW- Anil)


